Proper sensor placement is critical for effective rodent detection. This guide covers where to place your base station and each sensor for maximum coverage.
Survey the Area
~5 min
• Rodents prefer to travel along walls rather than across open spaces
• They follow the same routes repeatedly, creating "runways"
• They seek cover and avoid well-lit, exposed areas
• Common entry points include gaps around pipes, vents, and doors
Walk the space and look for signs of existing activity:
• Droppings
• Gnaw marks
• Grease marks along walls
• Nesting materials
These spots are your starting points for sensor placement.

Is that poop from 3 years ago, or last night?
Sketch the Area
~5 min
• Mark walls, doors, pipes, major features
• Note where you spotted signs of activity
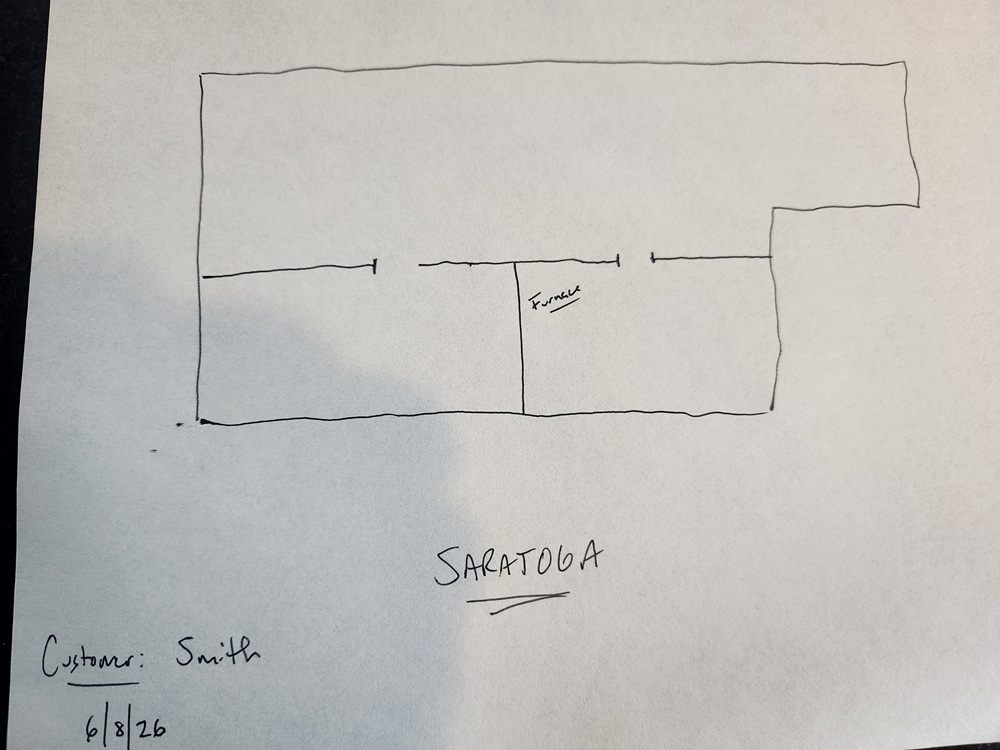
Rough sketch
Choose Your Mounts
~2 min
For harder-to-view areas, choose the right mount:
GripMount: wraps around pipes (drains, water lines, gas pipes)
TiltMount: angles up from the floor, or flips over to hang down from a joist
See the full Sensor Placement Guide for mounting details and photos
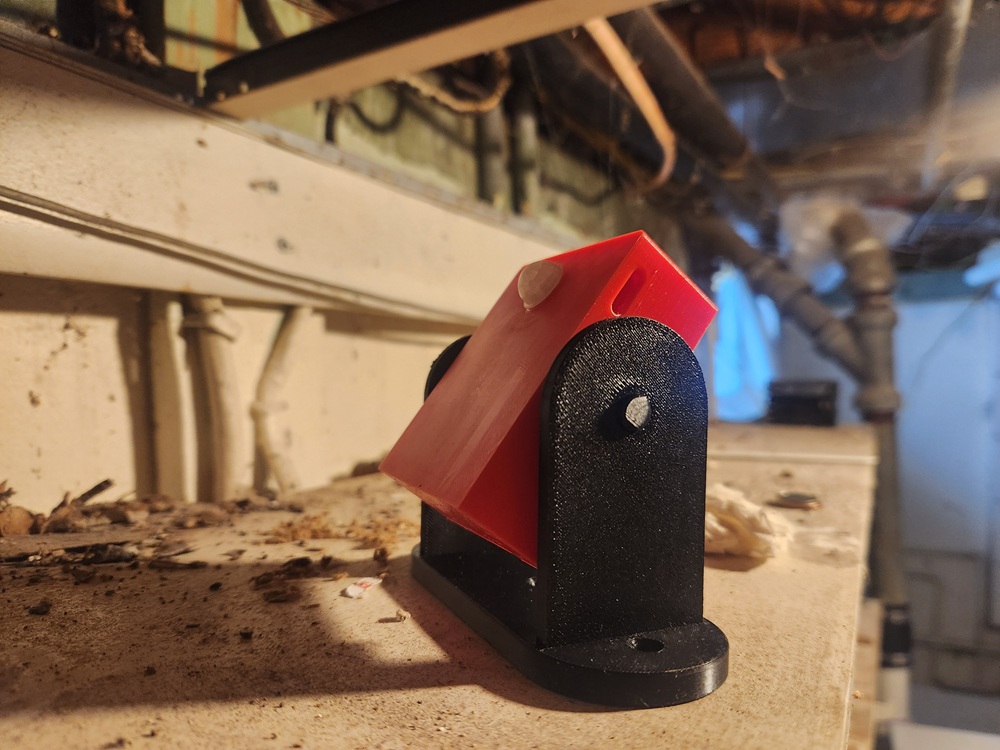
TiltMount when you need to look up or down (can be screwed into joist and tilted to look down as well).
Initial Sensor Placement
~3 min
• This reduces false triggers from human activity
• Rodents travel along walls, not through open space — your sensor will catch them on their route
• Don't worry about perfect placement yet — the goal is to detect where activity is happening
High-priority locations to consider:
Kitchen/food areas: behind refrigerator, under/behind stove, near pantry, along baseboards near cabinets
Entry points: near exterior doors, around pipe penetrations, by HVAC vents or ducts, garage entry points
Storage areas: basement corners, garage perimeter, utility room edges, attic access points
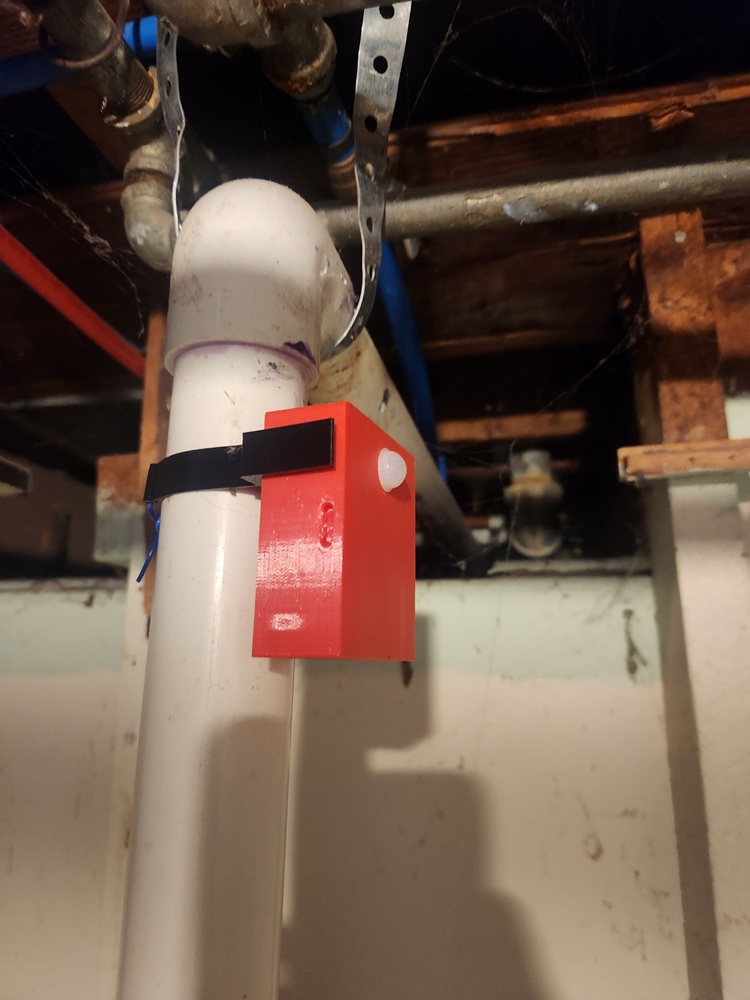
Sensor focused on an area rodents suspected of travelling, using the GripMount harness.
Mark Sensor Positions on Your Sketch
~3 min
Label each position with its sensor letter (A through H)
Take the sketch back to your desk or turn it in to your supervisor
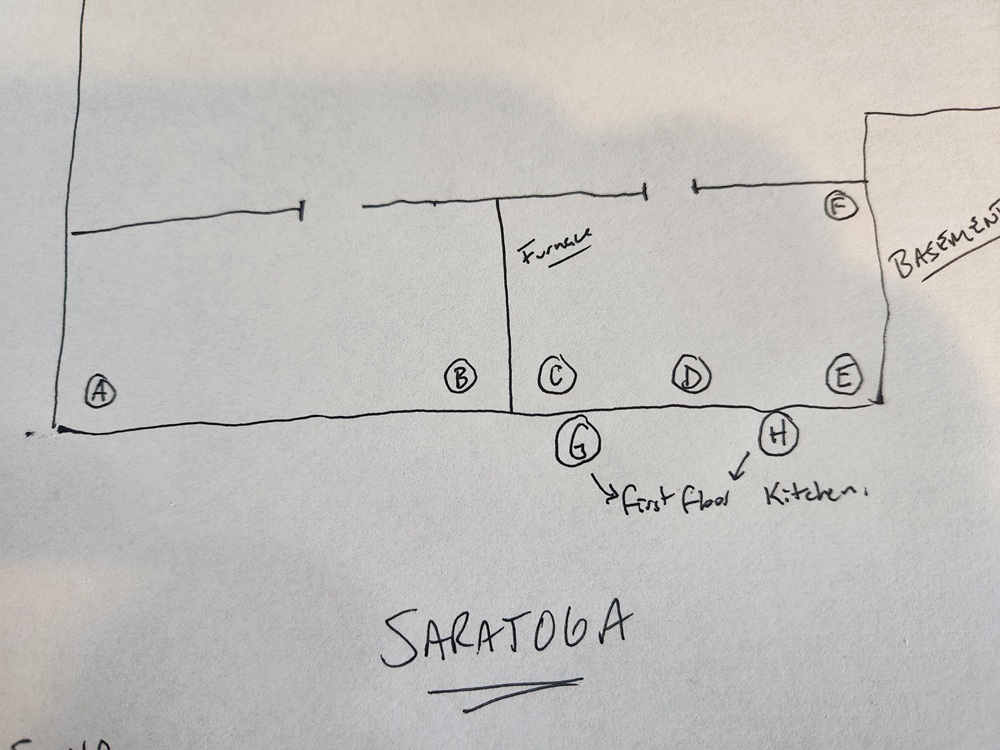
Write down where you placed the sensors on your sketch you drew earlier.
Review & Adjust (after detecting motion)
• Move sensors toward the active areas
• Follow the data — let the rodents show you their routes
• Update your floor plan as you reposition sensors
Image coming soon