Before your RodentRadar device can begin monitoring, it needs to connect to your home or business Wi-Fi network. This guide will walk you through the simple provisioning process using your smartphone.
Unpack and Connect Power
~1 min
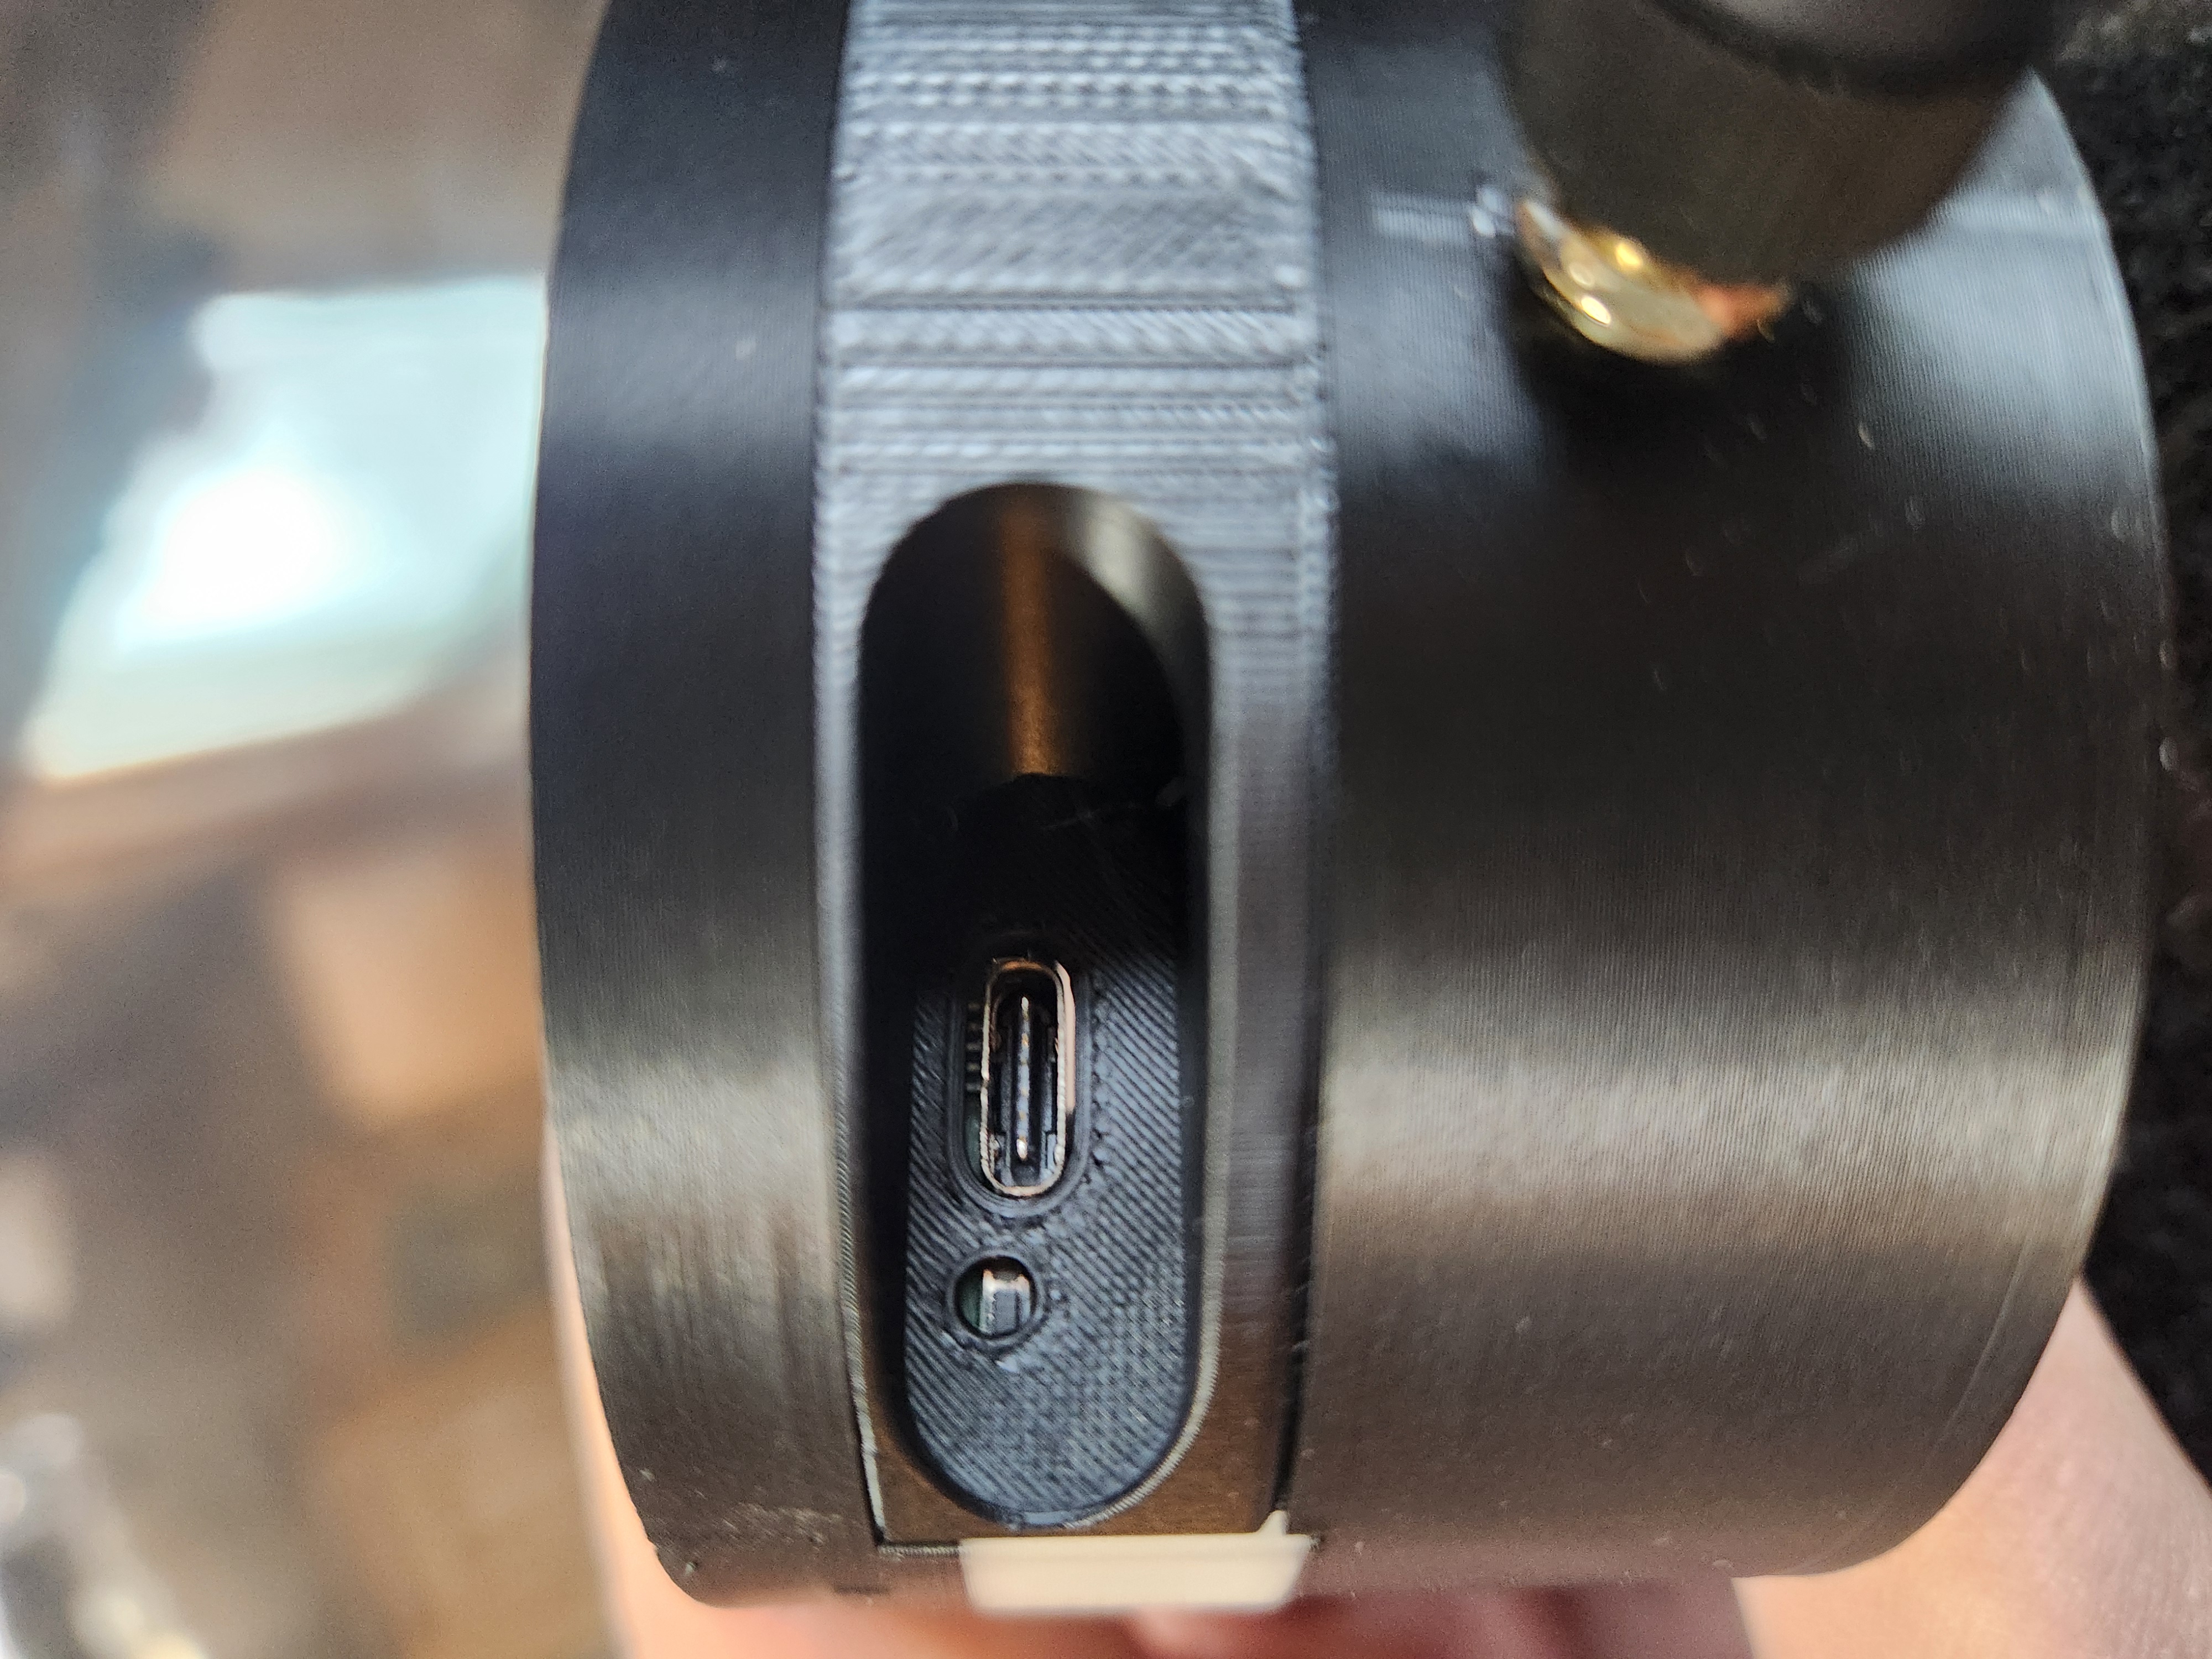
USB power port on back of device
Find the Best Location for the base device
~2 min
The base station should be:
• Near a power outlet (USB power required)
• Within range of your WiFi router
• Elevated if possible (shelf or counter height)
• Away from large metal objects that could interfere with signals
Once you've found a good spot, try to leave the base station in place. Avoid moving it frequently or repeatedly turning the power on and off — the system works best when the base stays powered on continuously so it can maintain a reliable connection with your sensors.
When first powered on, the device will flash red lights indicating it is ready to be provisioned. This means it is waiting to connect to your WiFi network so it can send data to the cloud.
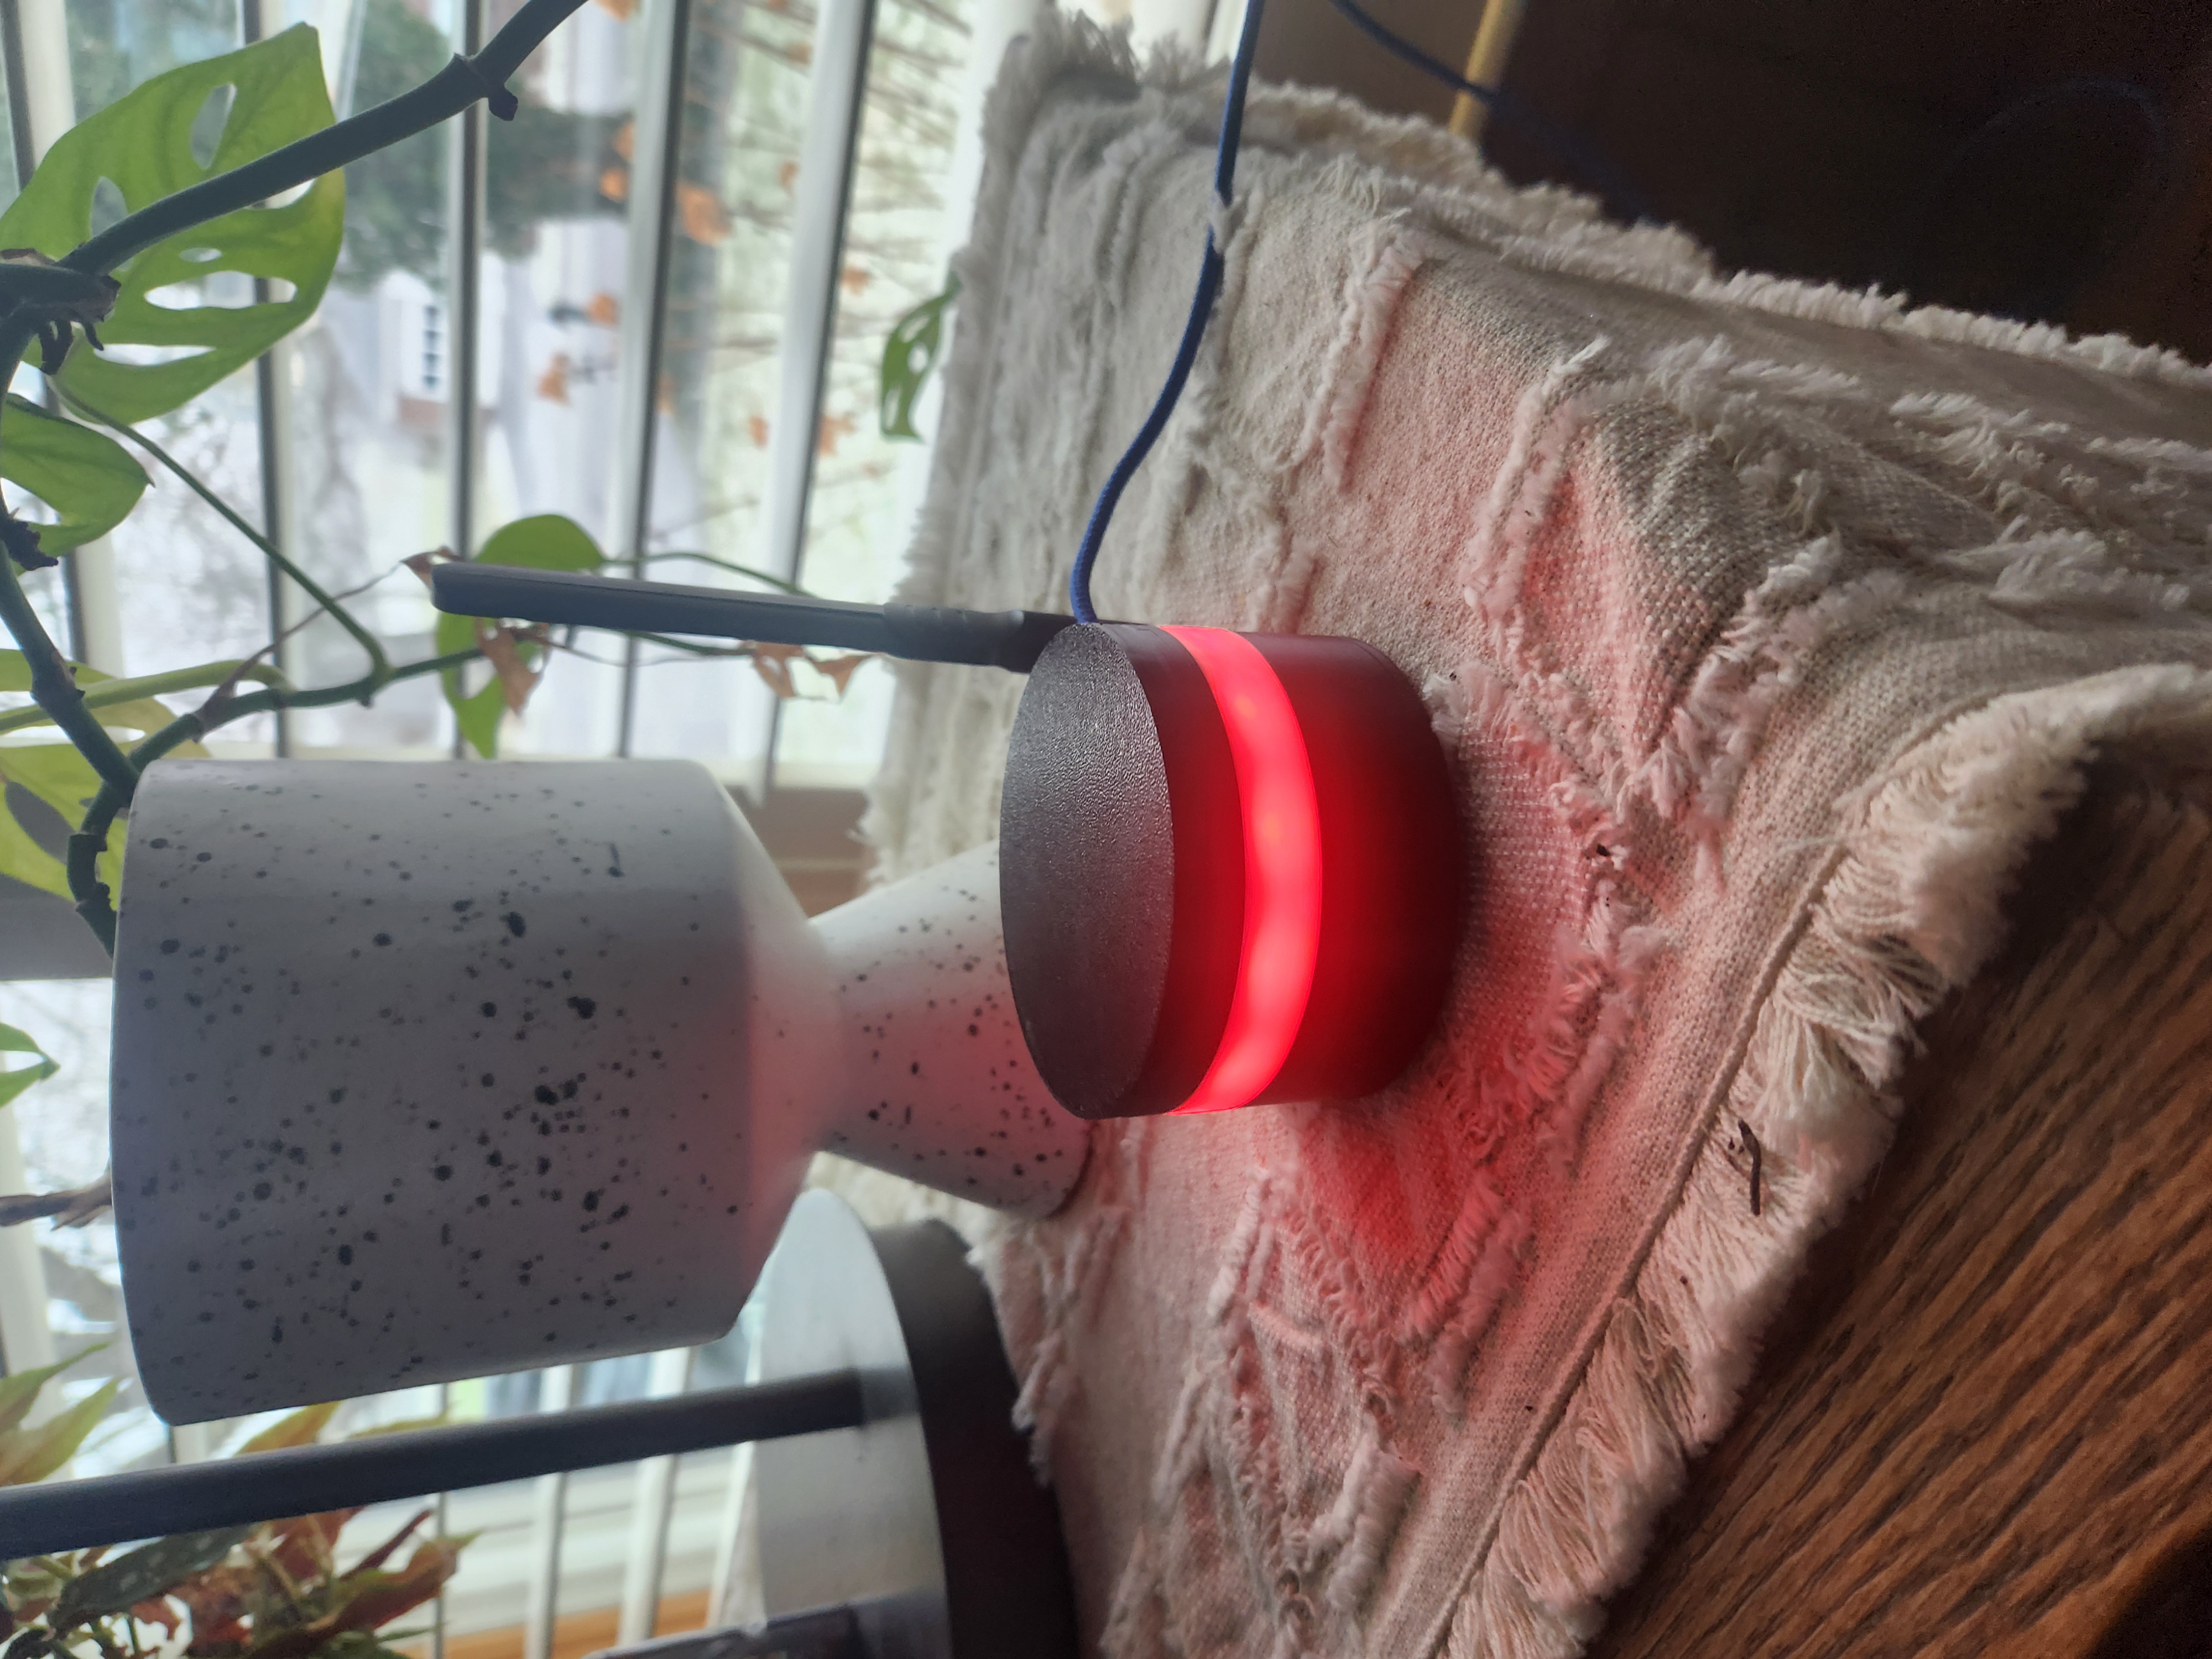
Device with red lights flashing
Open Wi-Fi Settings on Your Phone
~2 min
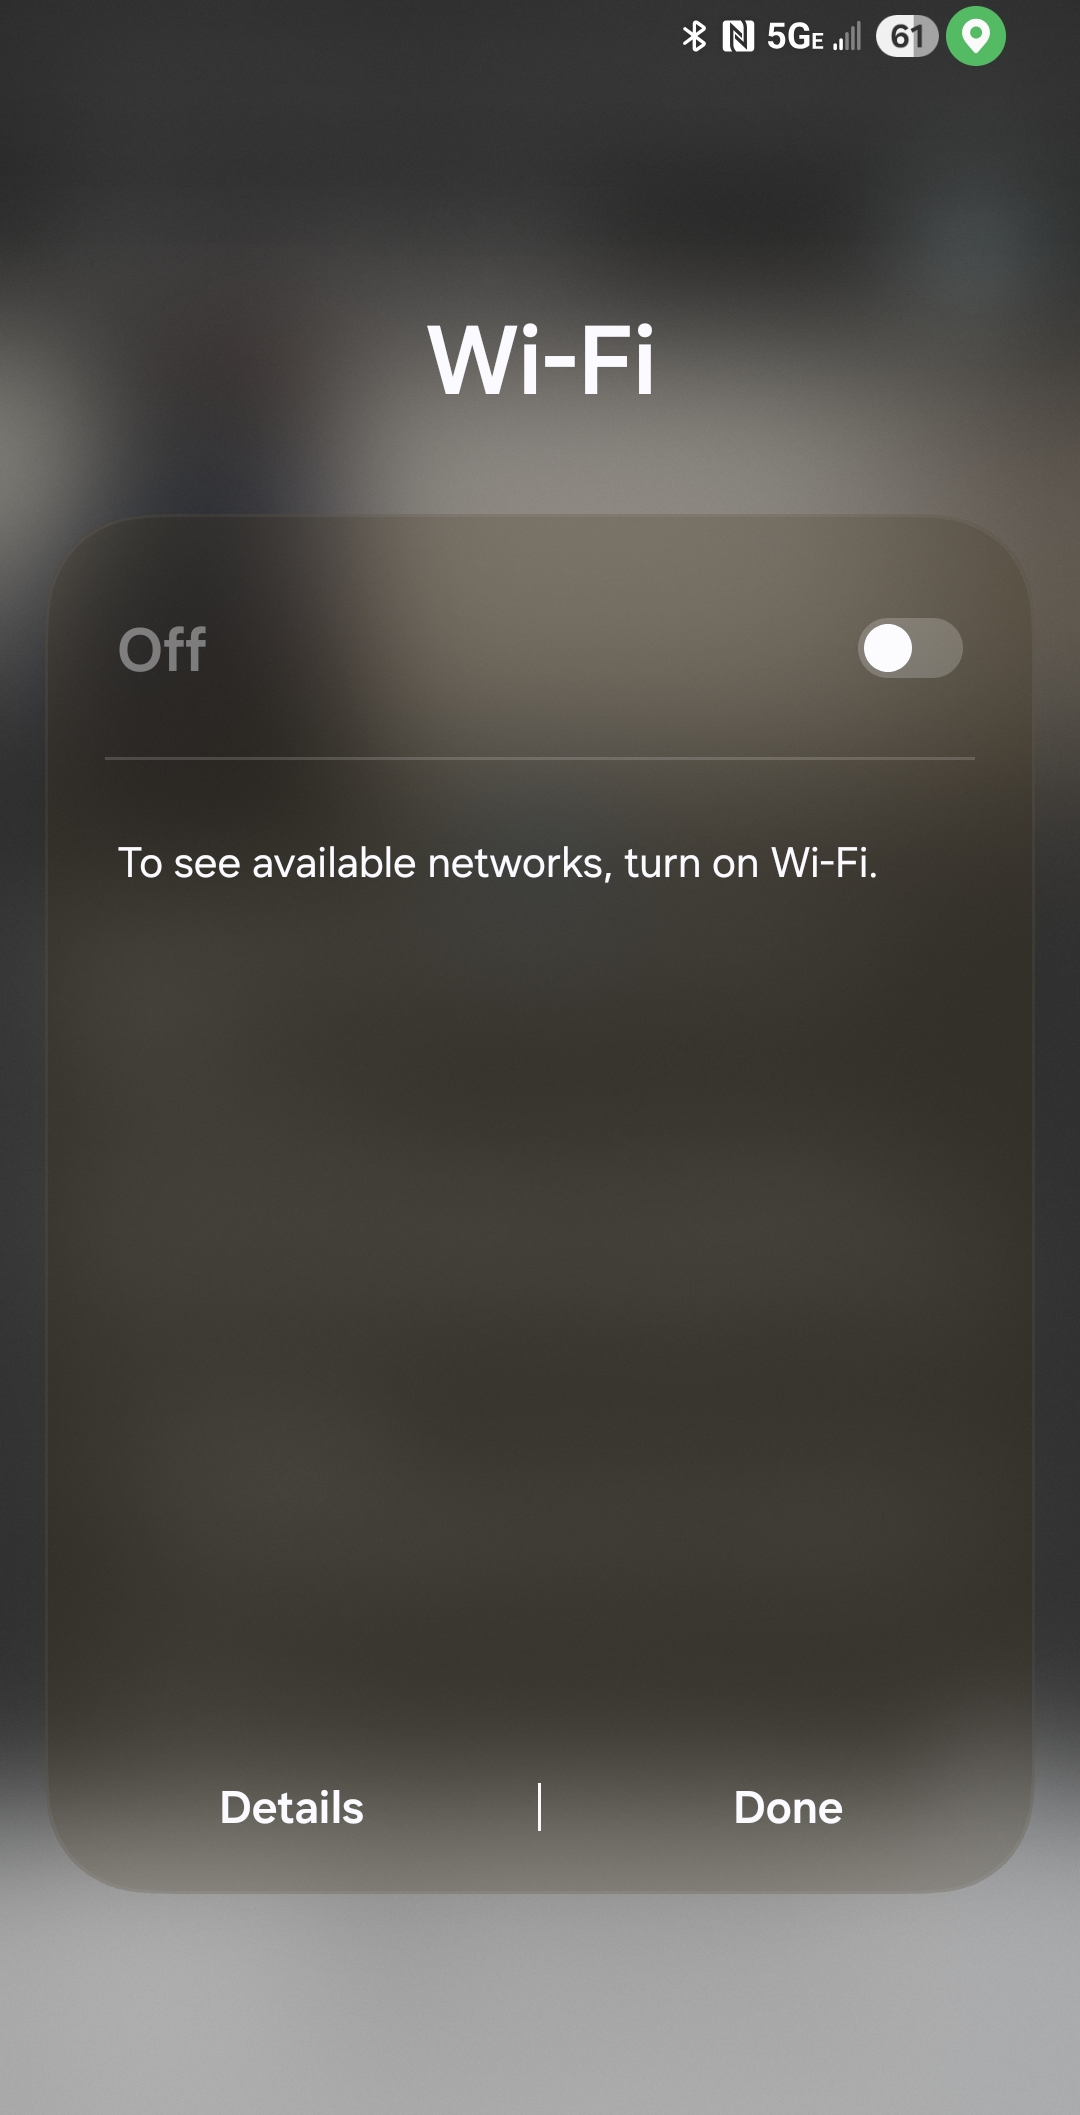
Enable Wi-Fi on phone
Connect to RodentRadar_Device
~2 min
Tap on RodentRadar_Device to connect to it. This is a temporary connection that allows your phone to communicate directly with the Rodent Radar base station.
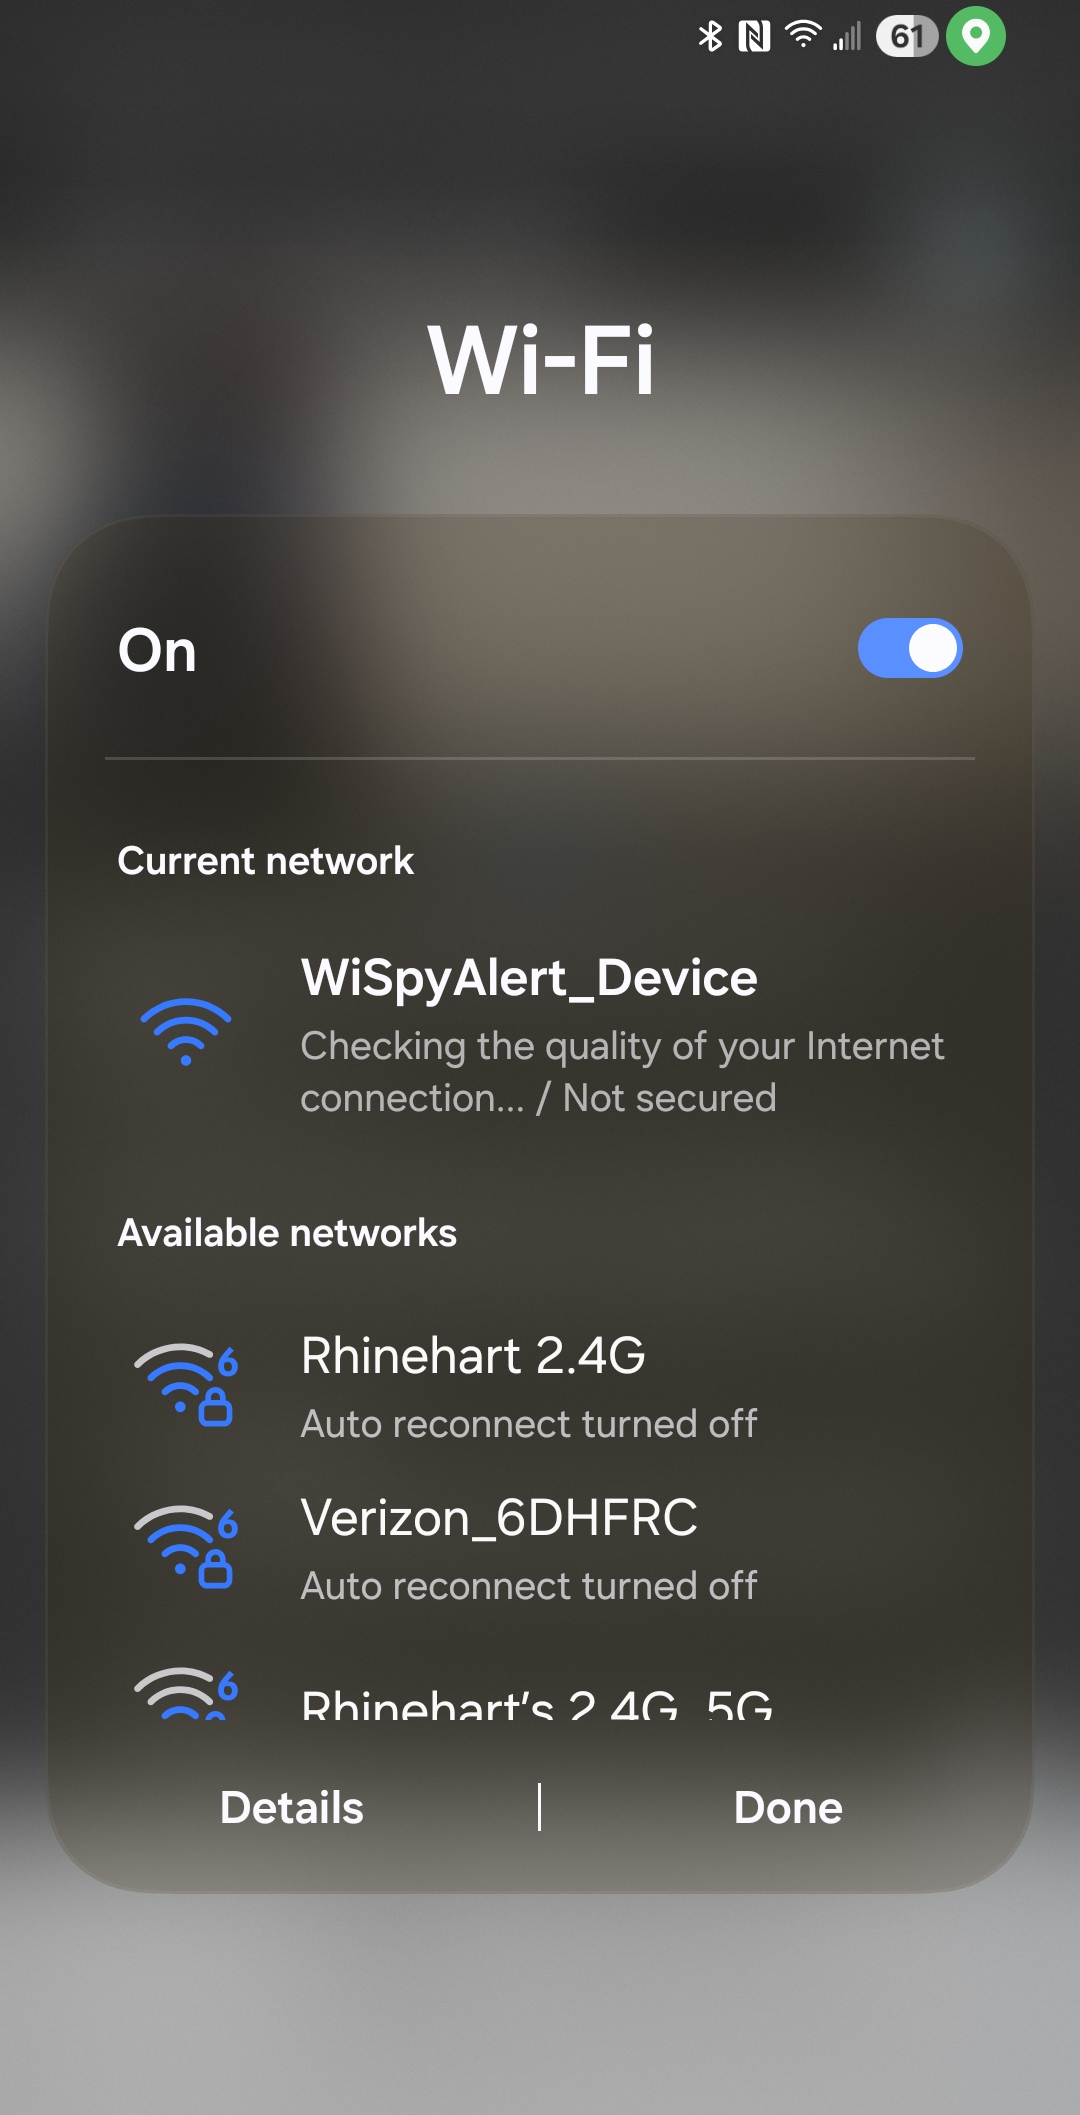
Select RodentRadar_Device network
Open the Provisioning Page
~2 min
http://192.168.4.1
This address connects you directly to the Rodent Radar base station's built-in configuration page.
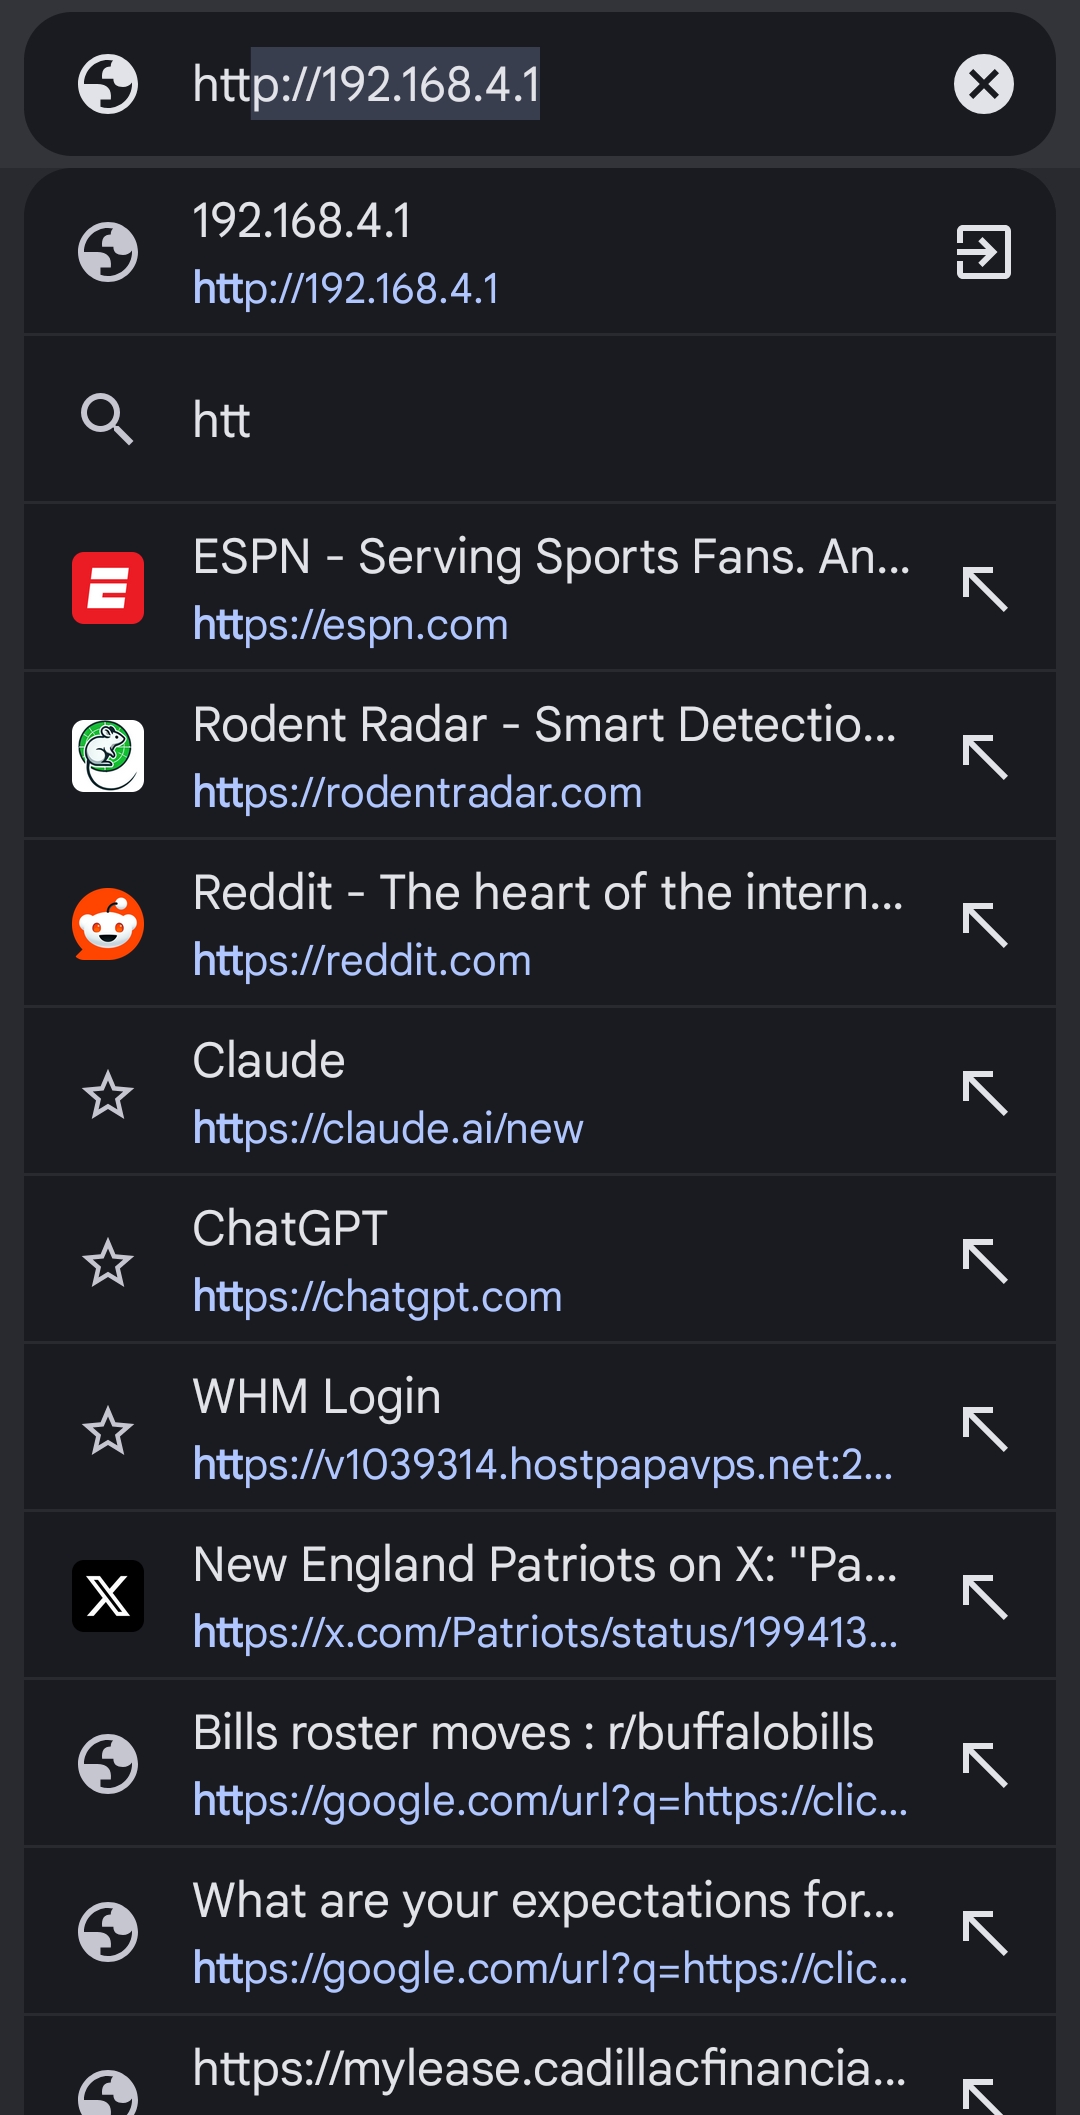
Navigate to 192.168.4.1
Select Your Home Network
~2 min
Select your home Wi-Fi network from the dropdown. If your router broadcasts both 2.4GHz and 5GHz networks, choose the 2.4GHz network (often labeled with "2G" or without "5G" in the name).
Enter your Wi-Fi password in the text box, then tap the Submit or Connect button.
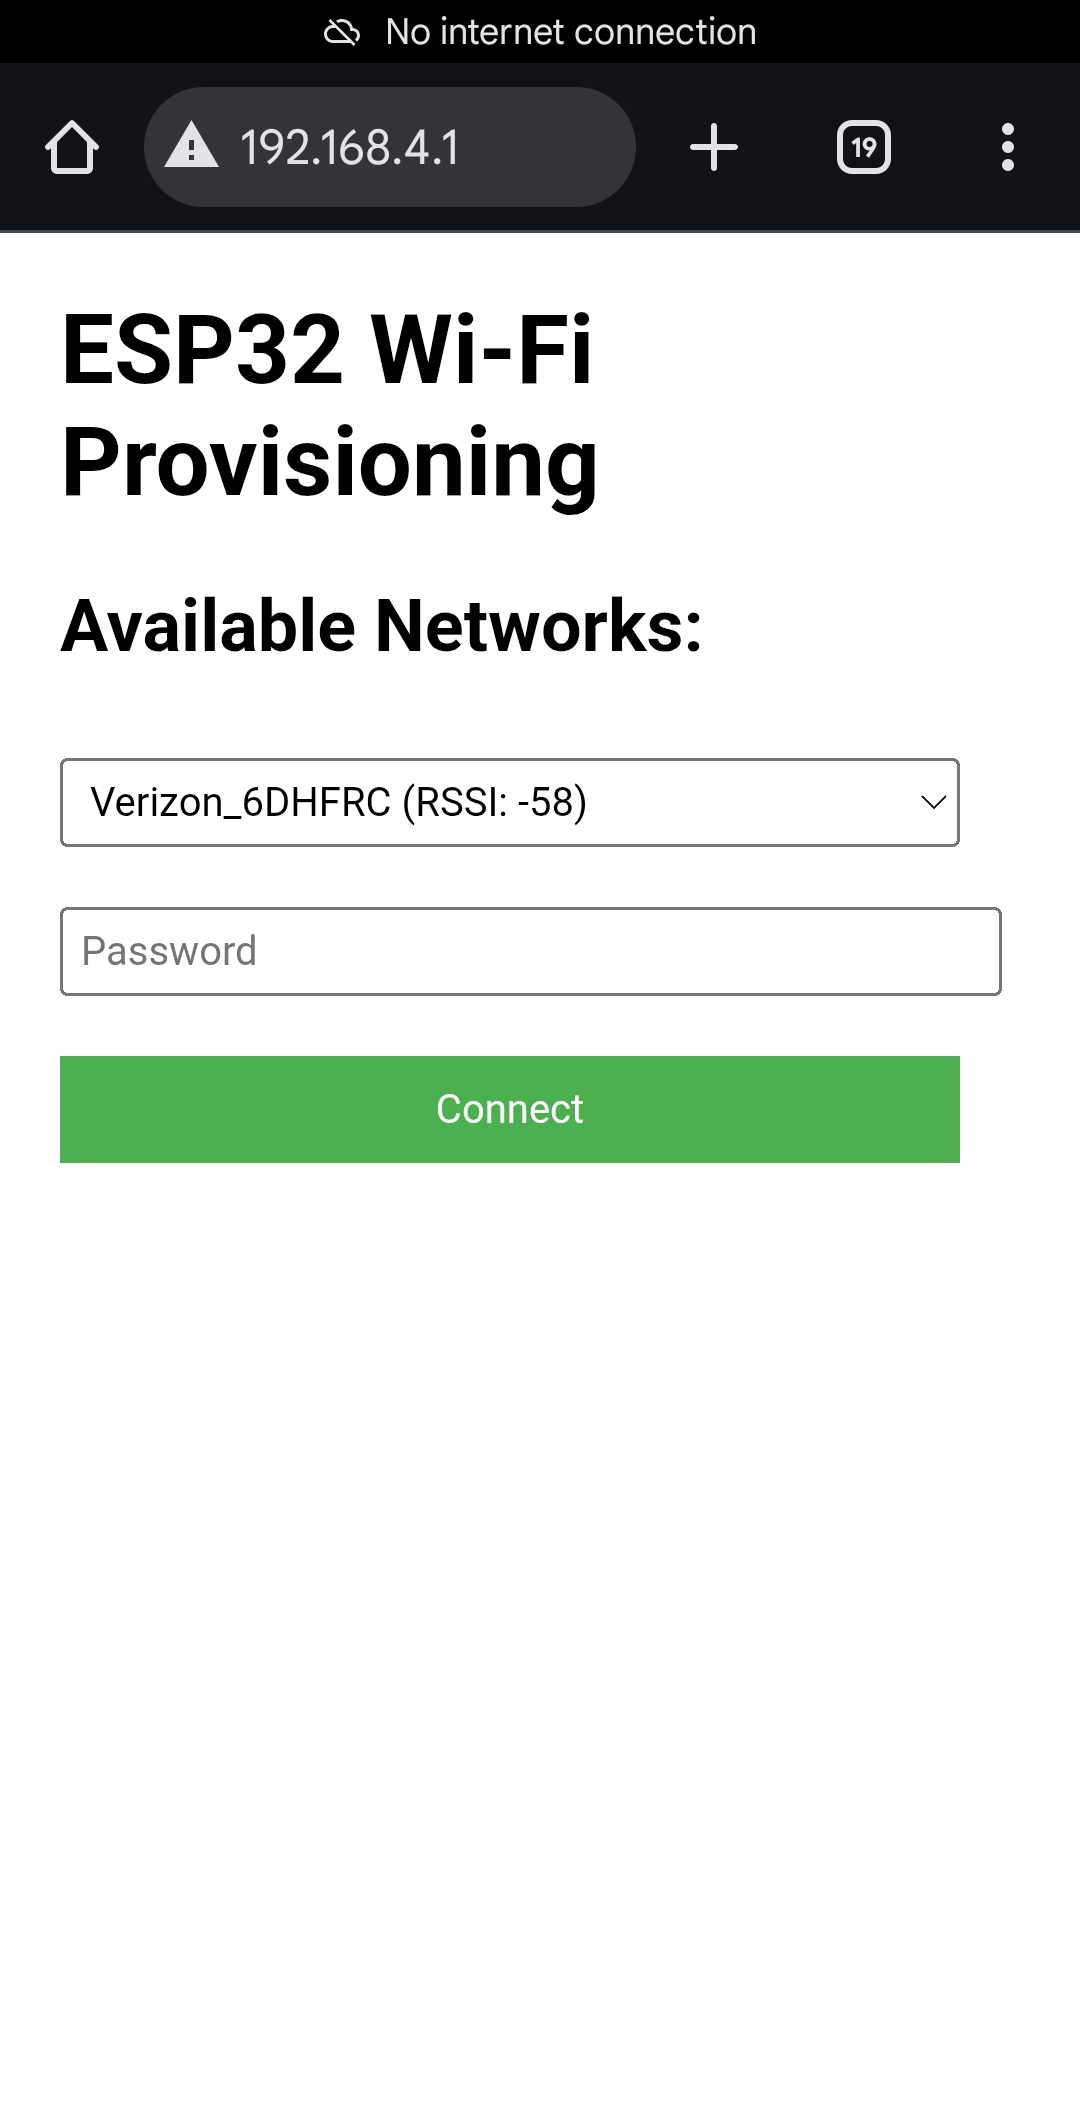
Select network and enter password
Provisioning Complete!
~2 min
What happens next:
• Your phone will automatically disconnect from the RodentRadar_Device network
• Reconnect your phone to your normal home Wi-Fi network
• Your Rodent Radar base station will appear as online in your dashboard
• You can now proceed to pair your motion sensors
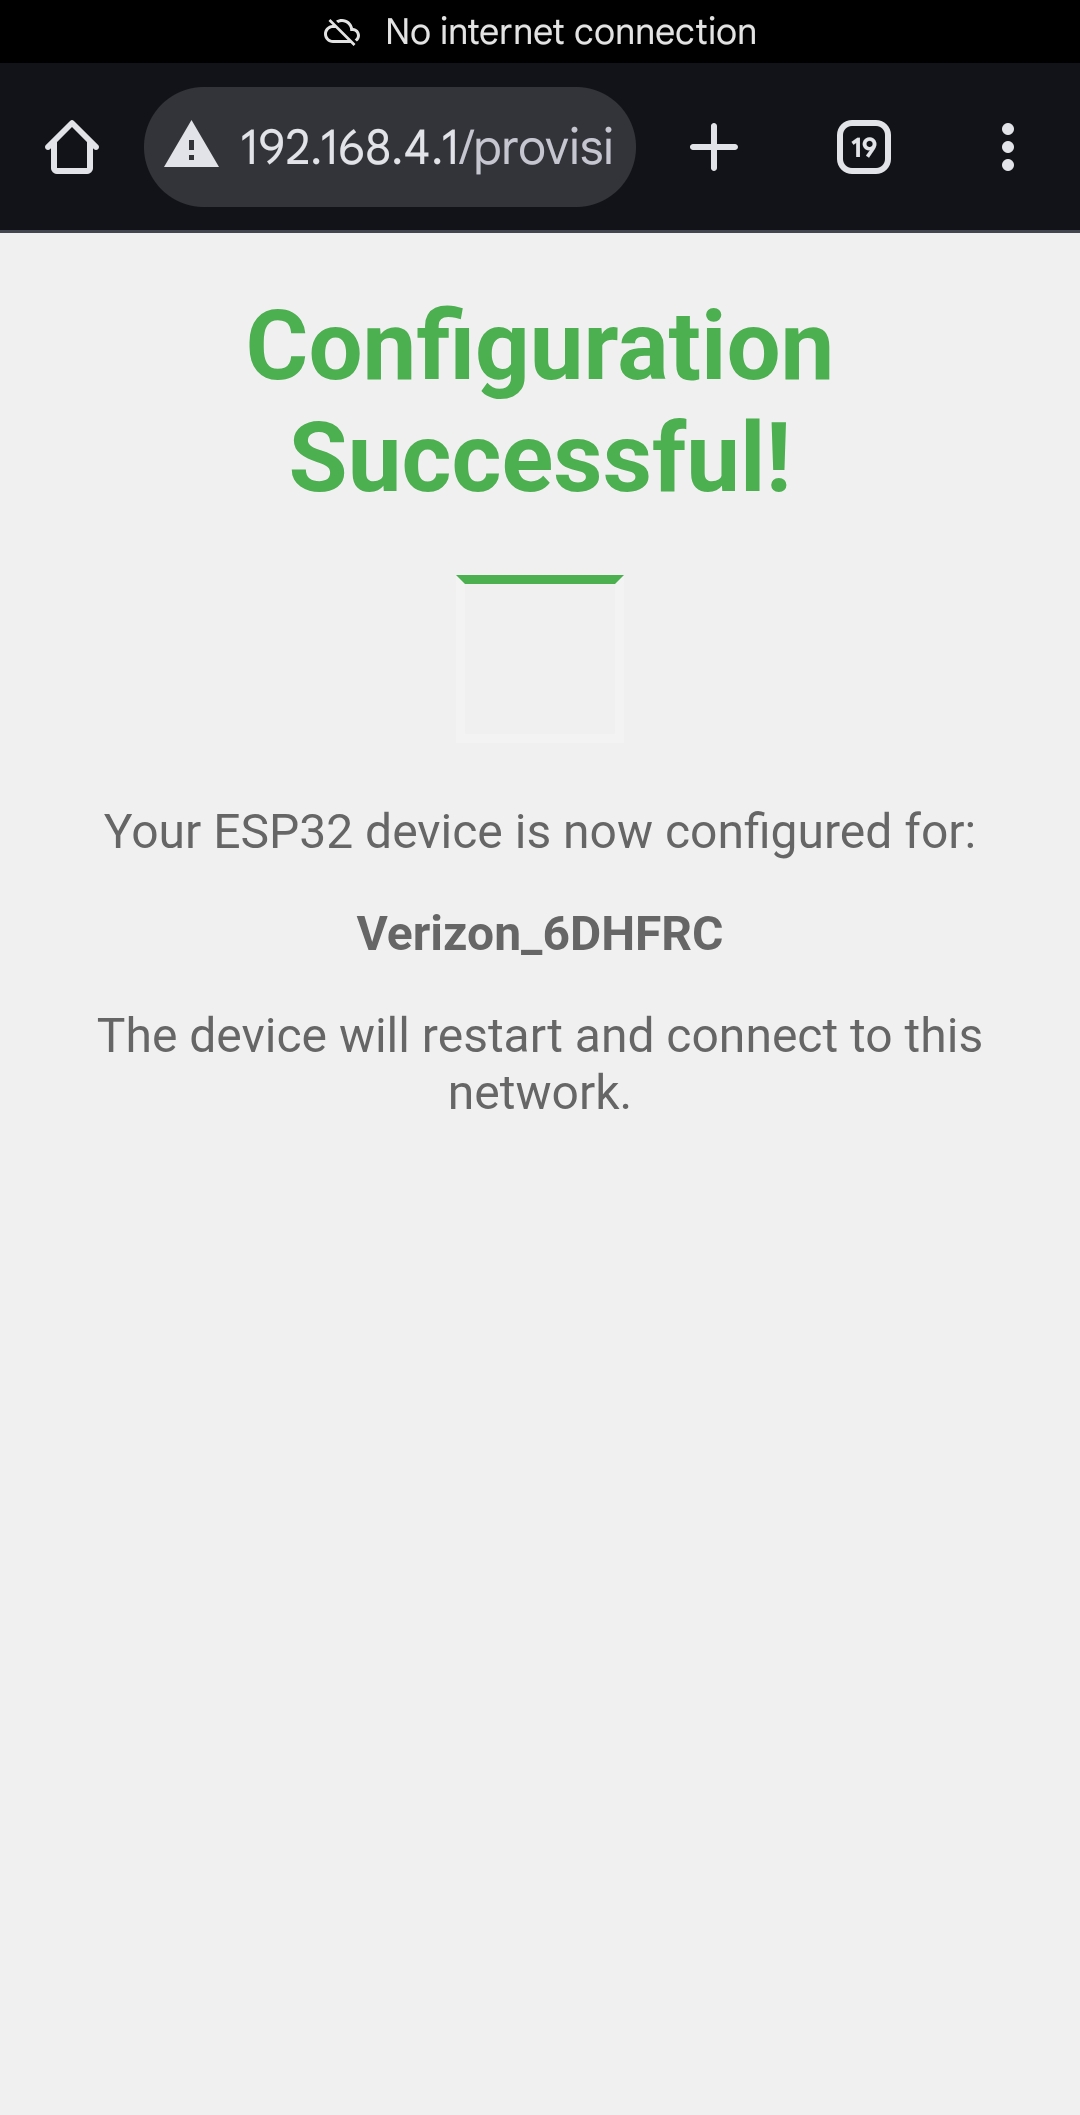
Provisioning success