Before your WispyAlert device can begin monitoring, it needs to connect to your home Wi-Fi network. This guide will walk you through the simple provisioning process using your smartphone.
Unpack and Connect Power
~1 min
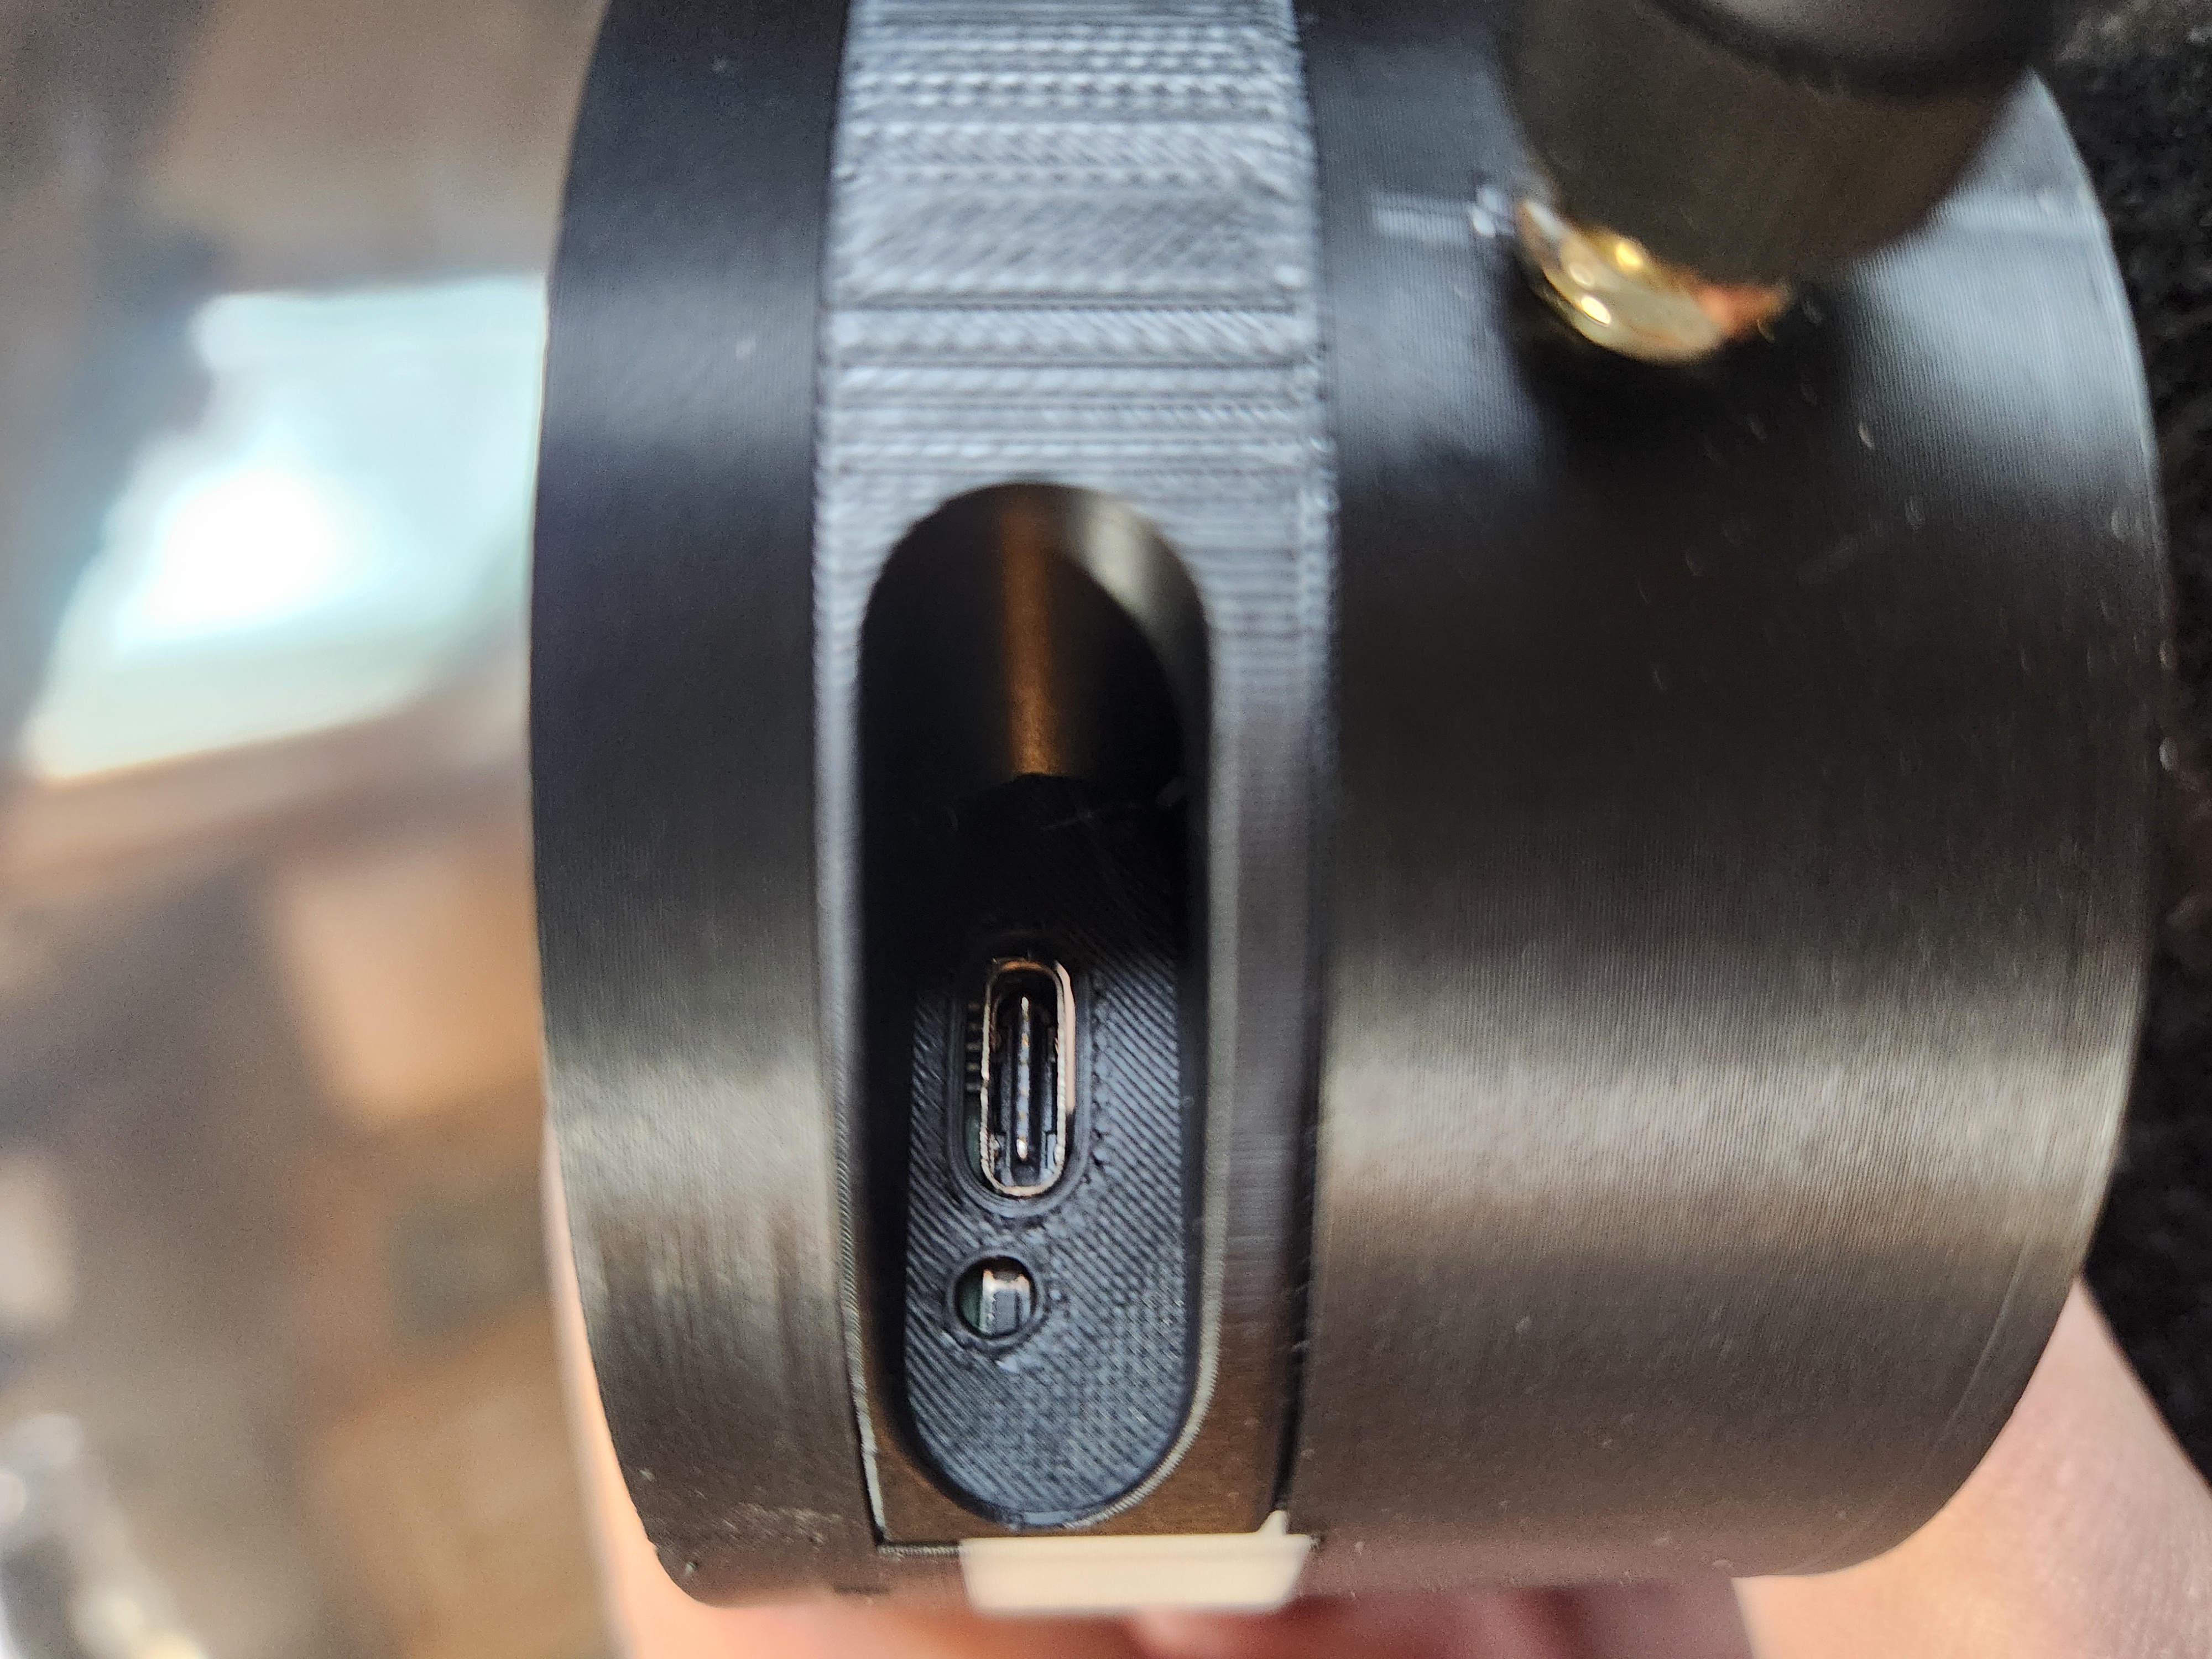
USB power port on back of device
Find the Best Location
~2 min
When powered on, the device will flash red lights indicating it is ready to be provisioned. This means it is waiting to connect to your Wi-Fi network so it can send data to the cloud.
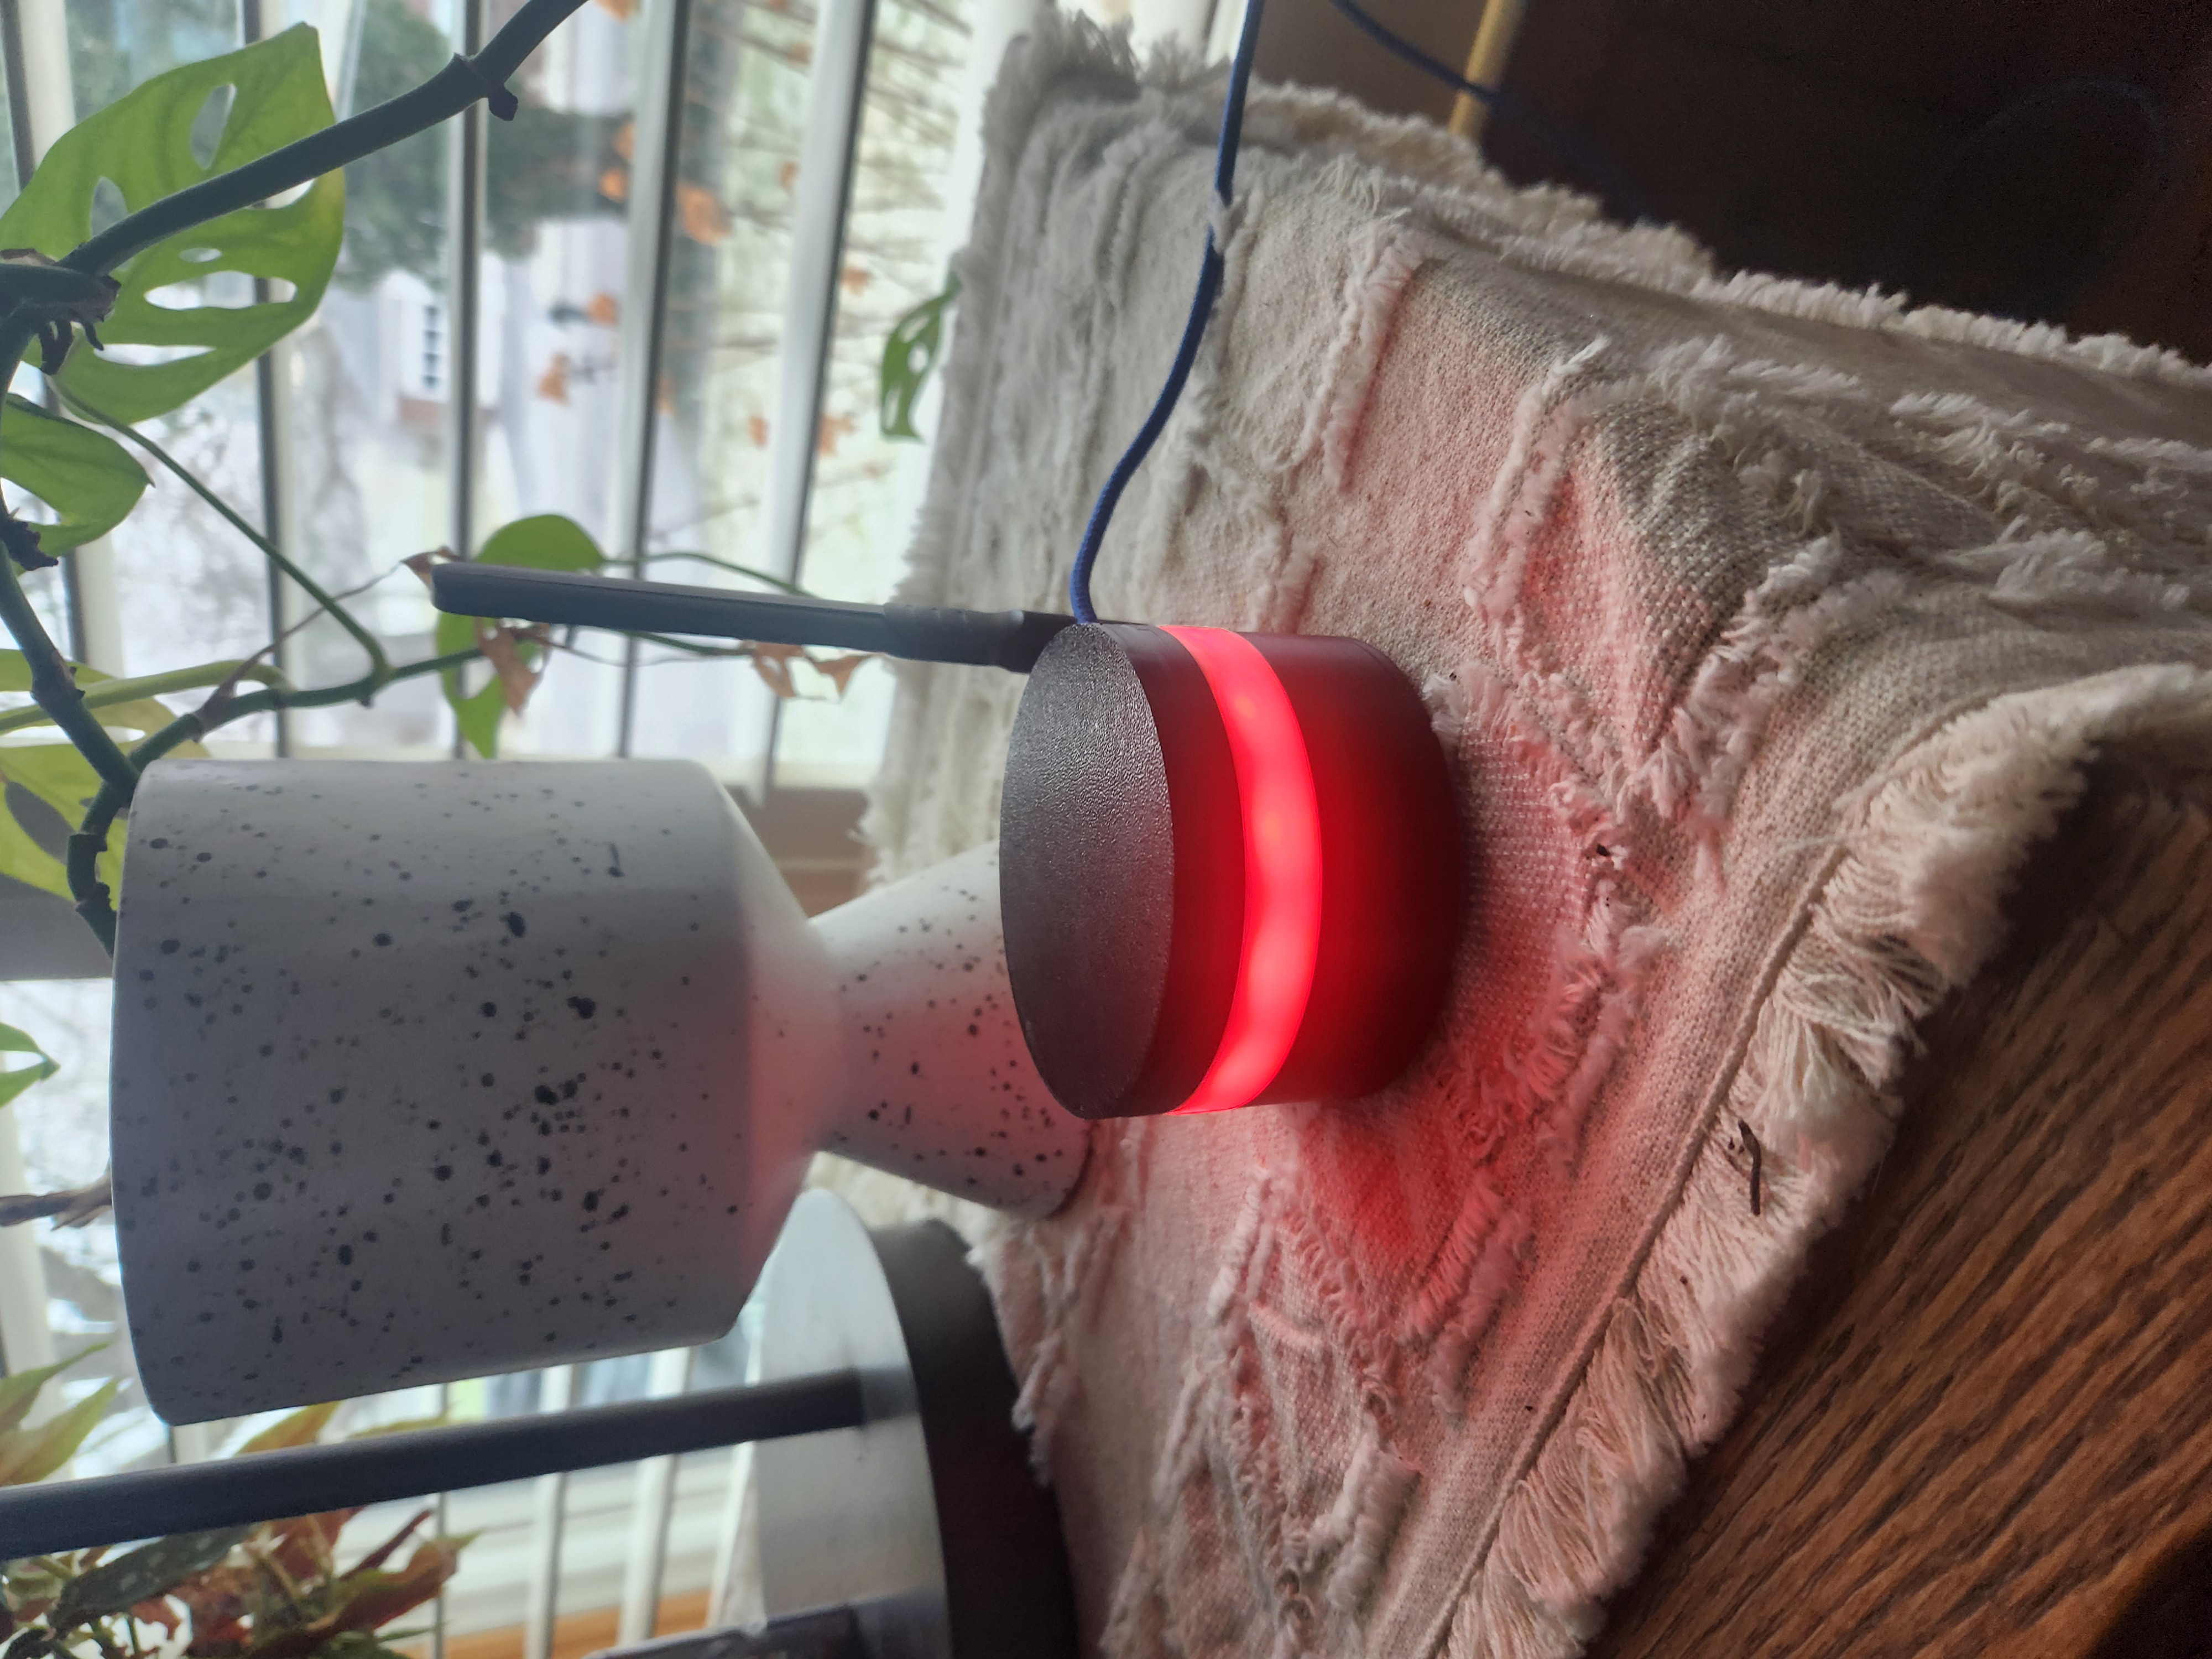
Device in window with red lights flashing
Open Wi-Fi Settings on Your Phone
~2 min
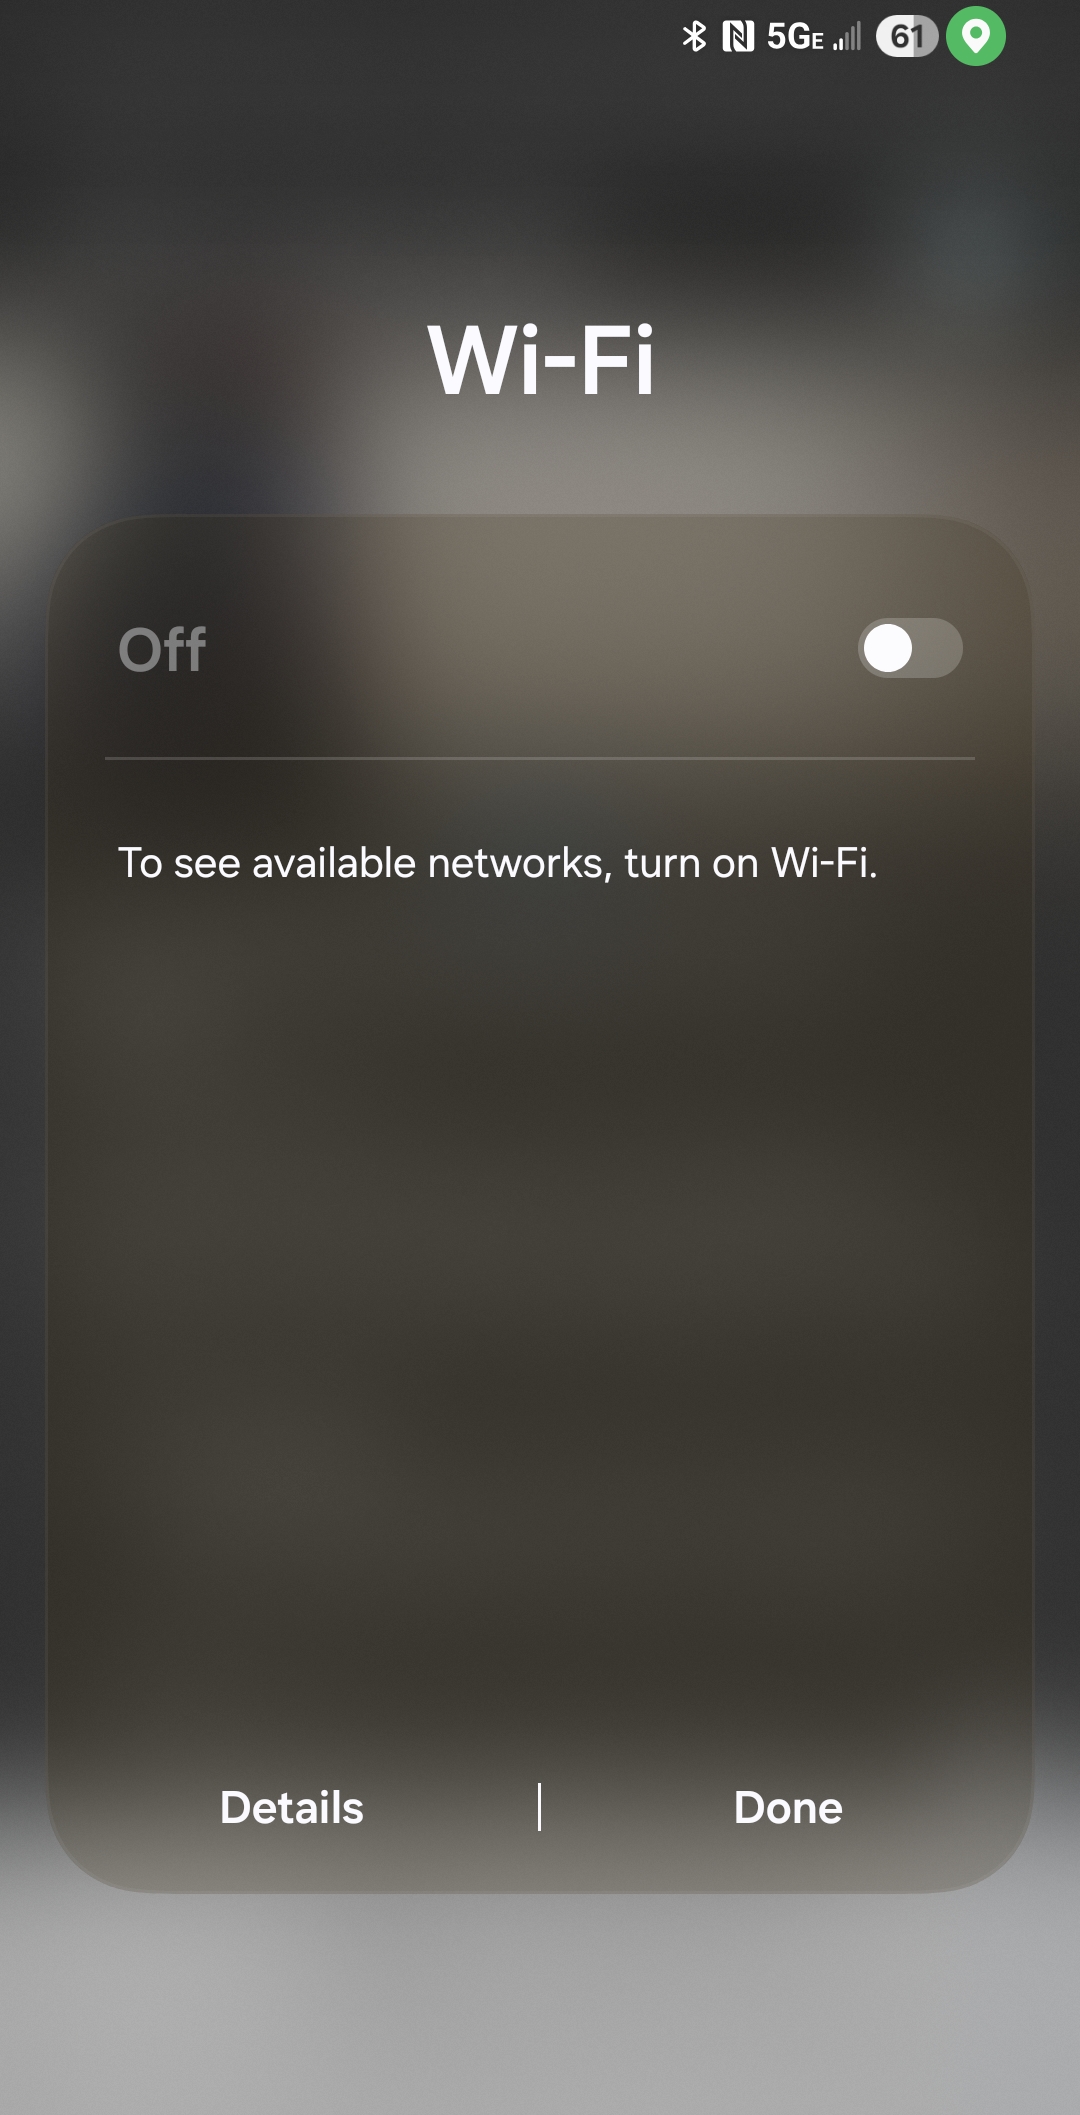
Enable Wi-Fi on phone
Connect to WispyAlert_Device
~2 min
Tap on WispyAlert_Device to connect to it. This is a temporary connection that allows your phone to communicate directly with the WispyAlert device.

Select WispyAlert_Device network
Open the Provisioning Page
~2 min
http://192.168.4.1
This address connects you directly to the WispyAlert device's built-in configuration page.

Navigate to 192.168.4.1
Select Your Home Network
~2 min
Select your home Wi-Fi network from the dropdown. If your router broadcasts both 2.4GHz and 5GHz networks, choose the 2.4GHz network (often labeled with "2G" or without "5G" in the name).
Enter your Wi-Fi password in the text box, then tap the Submit or Connect button.

Select network and enter password
Provisioning Complete!
~2 min
What happens next:
? Your phone will automatically disconnect from the WispyAlert_Device network
? Reconnect your phone to your normal home Wi-Fi network
? Your WispyAlert device will enter a 24-hour learning period
? You can monitor your device status from the WispyAlert dashboard

Provisioning success